Wednesday, February 26, 2014

Passing Gas

With our return from NY, it was time to get down to some of the periodic maintenance we had let go during our extended stay on the hard.  Now that we are back in the water and the weather is starting to warm up, we thought it would be nice to have our dinghy at our disposal.  When we first moved down here, we had kept up with making sure to start our outboard engine at least once a month to be sure that the carburetor wouldn't get gummed up from stale gas. (Gasoline degrades to shellac when left unused.)  A carburetor is a device that blends air and fuel for an internal combustion engine and if its not working correctly you're dead in the water. When we got on the hard, that motivation faded fast, and the maintenance got put on the back burner.  Bad idea!  Frank has spent the past couple of days trying to get our outboard started and running correctly. Before this, he has had very limited  (i.e. zero) experience with small gas engines.  At this point, he has disassembled, cleaned, and re-assembled the carburetor and fuel lines at least 4 times, re-gapped the spark plugs, and checked the impeller nearly as many times as well.  It turned out that aside from the initial dirty carburetor, a simple 10-cent O-ring in the carb was causing the engine to run poorly.  

As far as we understand, carburetors tend to be the main culprit when an outboard either refuses to run or runs poorly. Frank was a bit apprehensive when he started taking apart the carburetor for the first time without any instructions, so he made it a point to chronicle his experience in case anyone else out there is in the same predicament.  Our outboard is a 4 stroke Nissan 9.8 and should be the same as the 8hp Nissan as well as the 8 and 9.8 Tohatsu, though I'm sure this is relevant to a lot of other small outboard carburetors as well.   

The first step is remove the carburetor from the engine.  To do that, first, you need to remove the throttle linkage from the carburetor body by loosening the set screw and sliding the connecting rod out.

Set screw for throttle connecting rod

Be careful not to lose the rod as there is nothing holding it in place on its other end.

Throttle connecting rod back end that easily falls off

Next, the choke connecting rod must be removed.  The small white plastic retaining clip rotates down freeing the rod.

Choke linkage

Remove the hose connected to the top of the air box from the engine side.
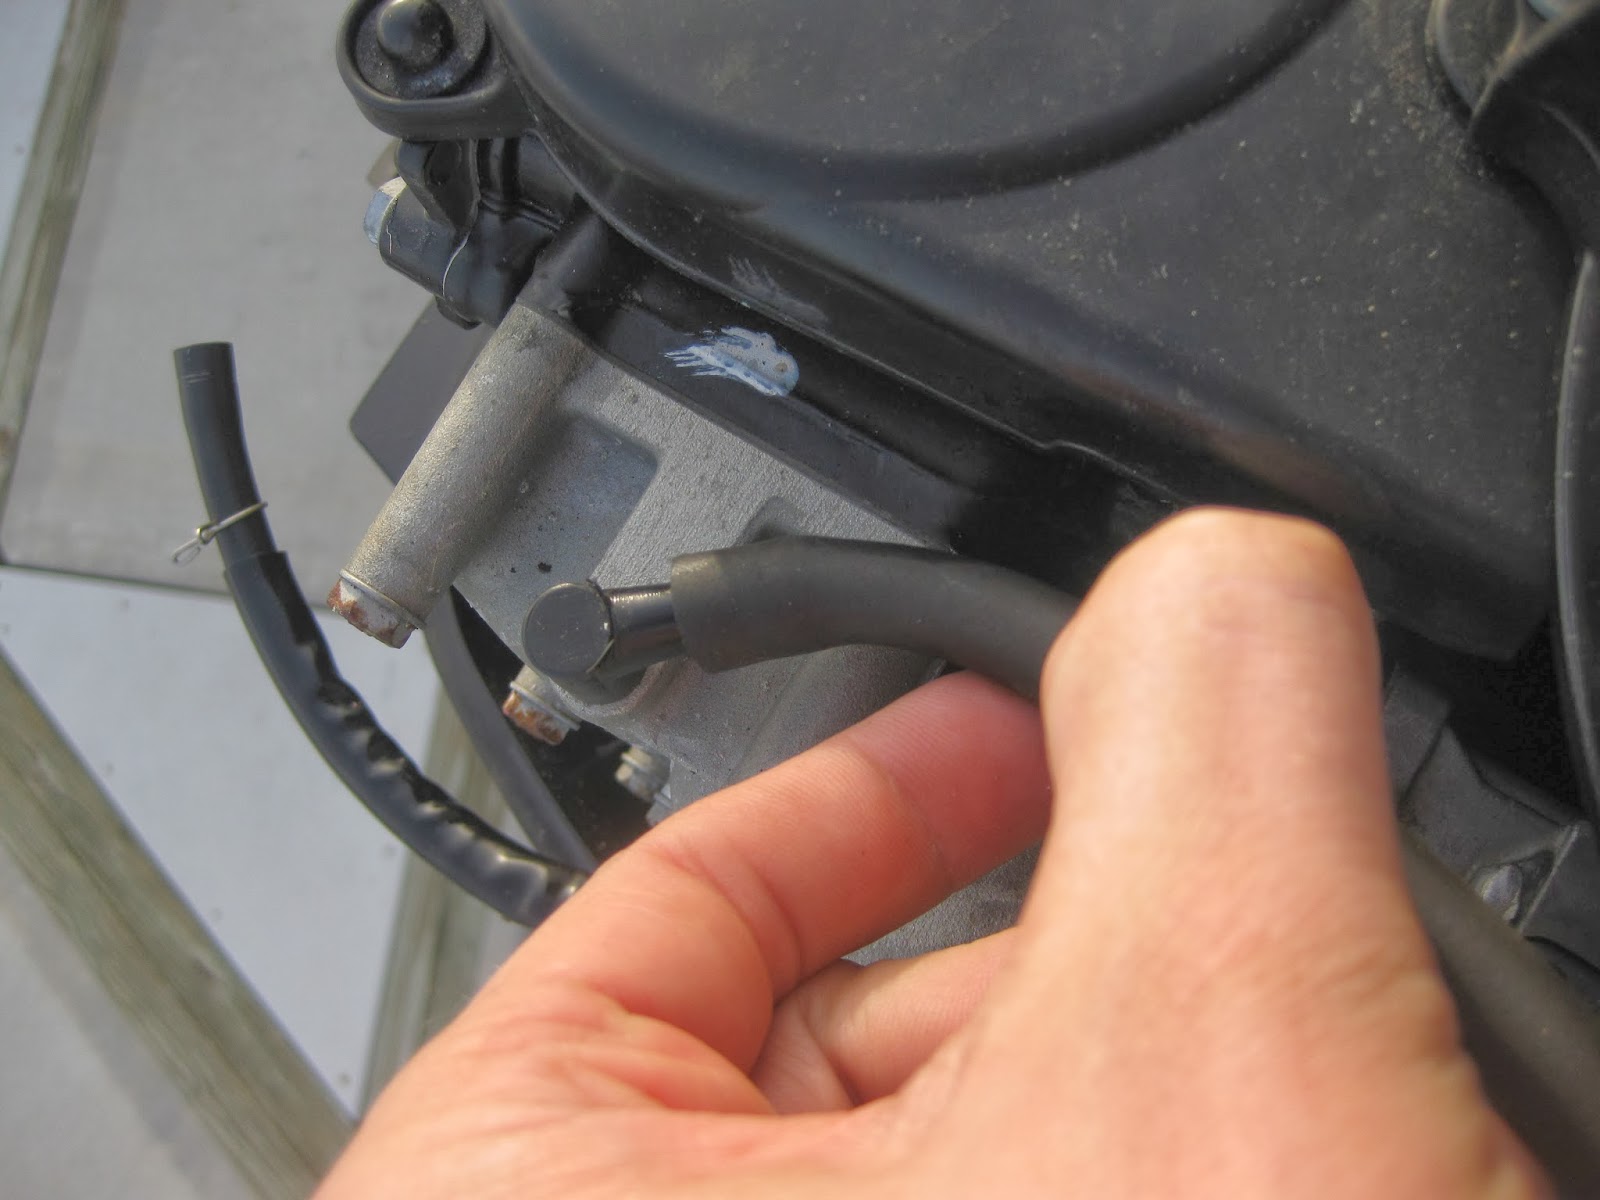
Air box hose

The fuel line must also be removed from the back side of the engine.  Some gas will most likely spill out as the line is removed, so have some paper towels handy.

Fule line

Now that its all freed up, its time to remove the carburetor (as well as the air box as it comes off with the carb) from the engine.  Loosen the 2 10mm bolts and the whole shebang should easily pull off.

One of the two 10mm screws attaching the carb/air box to the engine

At this point it's time to take the carburetor to a CLEAN work surface to continue disassembling it.  On the bottom of the carb bowl there are 4 phillips screws that need to be removed.  Once off place the screws in a small dish so that they don't get lost, and separate the bowl from the carburetor body.  There  will most likely still be some gas left inside, so its best to do this over a disposable plate to avoid making a mess.

Screws attaching the bowl to the body

Inside the float is visible, and can be removed by loosing the phillips retaining screw.

Removing the retaining screw that holds the float in place

Once freed up gently lift the float body straight up; careful not to lose the needle in the process.  Remove the needle as well as the hinge pin form the float and place them in a small container of carb cleaner (a shot glass works well for this).

Floate with the needle and roller pin still attached

 Now with a flat head screwdriver remove the two brass screws that are visible.

Larger of the two brass screws

They are easily stripped so be careful.  Once removed, place the screws into your small container of carb cleaner along with the needle and pin.

Removing the smaller screw that hides the jet

Under the smaller of the two screws lies the jet.  You will need a small flathead to get down in there and unscrew it.

The jet is visible in the lower hole

The jet is one of the most prone places on the carburetor to become clogged by small debris because of the tiny passages it contains.  A specialty carburetor jet cleaning tool is available, however, a piece of mono-filament fishing line will work if your cheap like me.  The idea is to clear out any debris or gummed up gas from the tiny hole down the center of the jet.  A soak in the carburetor cleaner will help loosen all the nasty stuff up.  

Jet

Next, flip the carburetor over and remove the SS plate from its top.  At this point the carb is as disassembled as it needs to be for the average cleaning.  Take the body outside along with the bowl that you removed earlier and blast it all with the carburetor cleaner.  Make sure to pay special attention to all of the small holes and passages through out the body, and use a liberal amount of cleaner (this is no place to skimp). 

SS plate on top of carb

When your sure that the carb body, bowl, jet, needle, pin, and brass screws are absolutely positively squeaky clean, you can begin to re-assemble everything.  This is a good time to check the gaskets and o-rings that you removed and replace any damaged ones.  When you have everything back together and mounted back on the engine the last thing you have to pay attention to is the adjustment on the throttle linkage.  With the throttle set to full on the handle, the throttle on the carburetor should hit its stop.  If it doesn't just loosen up the set screw and re-adjust until you have it right.

Throttle hitting its stop on the carb body when the handle is set to full throttle


Thursday, February 6, 2014

Ice Ice, Baby


We just recently got back from a frigid trip up north.  Reason for torturing ourselves with the winter was because I had to take a DC Electrical systems course in Annapolis.  A few years back, Frank had taken a Diesel Mechanics course at the Annapolis School of Seamanship and touted it to be a very comprehensive, hands-on class.  Since I had been struggling with understanding wiring and how to build a well balanced electrical system on board, I figured the best thing I could do would be to get a more hands-on learning experience versus trying to learn through reading very dry textbook material.  Unlike Frank, I cannot learn through books, and trying to retain all the pieces of information involving DC systems has proven to be incredibly frustrating.  I cannot say more about how great the class really was.  Before the class, I had a very basic knowledge of how to wire some piece of equipment into our panel, but after taking the class, I now feel confident in troubleshooting any electrical fault as well as building a safe, efficient way of charging and maintaining our brand new Rolls Royce batteries.  The class teaches you everything from theory, what a diode is, to how to use a multi-meter, how to properly fuse, to the types of batteries, inverters, chargers, and regulators you can get for your boat.  Bob Campbell did a really good job teaching it all in a concise and relatable manner and being able to work with all the systems hands-on has helped increase my understanding of electricity exponentially.  If you do take the class, I recommend taking both parts 1 & 2, as part 1 really only covers just the basics.  

Annapolis School of Seamanship
Hands on training
Since we were taking a trip up north anyway, we couldn't skip out on seeing my beloved New York, and our well-missed friends and family.  The trip was short but sweet, and seeing 10-12 inches of snow made us feel a little less bad about living in Florida.  It reminded me of how miserable winter in NY can be, and upon my third day there, I got really sick with a fever and what I believe was the flu.  Yikes.  We haven't really seen a true winter since moving to St Augustine, so turning into a human popsicle in 7 degree weather was certainly not ideal (Mind you, 7 degrees was the HIGH and not the low). I can't believe that we have lived that way for most of our lives! Seeing only warm weather for a couple months out of a year is not cool (well, actually, it's too cool.)  Knowing that the cold was only temporary for us, we took advantage of how beautiful a white snowfall can be and played like school children on a snow day.  Snowball fights and snow angels made an appearance along with our dusty winter hats, shearlings, and snow boots.  Frank even had to shovel my parents’ driveway to get the car out, while I sat inside sipping hot chocolate, watching him through the window.  Thanks, but I’d rather squeeze into a tiny space to work an angle grinder inches from my face any day!  

My sister and I 
Caught in the Act! Frank getting ready to chuck a snowball at me
Yes, that says 7 degrees at 11:31am
Upstate, NY...
I even got to play with my darling, Cynthia :)
My brother and Cynthia
So long NY, until next time….

Saturday, January 25, 2014

Reflections

With the cold weather keeping us indoors on the boat with no Internet to entertain us, I’ve had a lot of spare time to just think.  Sometimes, we get so caught up in the immediacy of our lives and our goals, that we lose sight of our priorities.  We forget why we work for the things we do, what’s important to us, because everyday life gets in the way and we go into autopilot mode.  We go, go, and go, working for the future, without a thought to what makes us happy in the present moment.  This is something we have all been guilty of.  We have been caught up with boat project after boat project the past couple of years, and I find that we sometimes lose sight of why we got into this in the first place; and that is to love each other and to love our lives.  Though I’ve written many-a-whiney blog post about the situation we’ve had to endure, in all honesty, I am very grateful for the experience.  Like a sailor many days at sea truly values the warmth of a dry bed, I have learned to appreciate the things I have overlooked in my life.  I really believe in the notion that we don’t truly know what we have until it’s gone.  Sounds tragic, but it’s really not, it’s simply life.  It only remains tragic if you never recognize it and take the time to be happy for the things you do have when you have them.  Without hunger, one cannot fully appreciate satiation.  Without loneliness, one does not value companionship.   Without darkness, one cannot understand the luminosity of light.   Funny how it works that way.   

I miss the people I love. Simply having someone to laugh with, to have lunch with, or seeing a familiar face would be something I’d give my first born for.  These things I never thought I would miss to the extent that I do.  To have someone care for you and your well being, and not judge you if you fall, but hold your hand and pick you up.  Thinking of this makes my heart swell with sadness and longing, but again, this is a part of life.  Believe it or not, I chose this lifestyle knowing that living on a boat would do this to me.   I knew it would open my eyes, make me not take a moment more in my life for granted.  

I remember the day that I had this epiphany, the day that cemented that living on a boat was something I wanted, something I needed to do to shape myself.  We had been out at sea for a couple days, between Bermuda and NY, only snacking on fruit, nuts, and cold cuts.  The weather was rough and I remember someone made Lentil soup.  I remember how grateful I was for the warmth of that soup, how every bite tasted better than anything I had ever consumed before, how I savored every moment of that soup-eating experience.  In those moments, it dawned on me that I wanted to forever feel that way about life, about the ones I loved, about food, about the warmth of a hug, about the smell of a flower, about all the things that I had never given a second thought to.  I realized that the vibrancy of these seemingly mundane things would be paled if I went on the way I did, living comfortably, just letting life smoothly pass by.  I knew in those moments that I needed to live and suffer so that I could enrich my life, not with all the things that I wanted for myself in the future, but with the things that I already have. 

Sunset reflected in a puddle
Photo Courtesy of Frank 

Thursday, January 9, 2014

Life is but a Dream….

Many of you must be wondering what we have been up to since splashing.  Well, maybe not, but my delusional mind would like to think that there is someone out there who reads this blog aside from our immediate family….No, we did not fall off the face of the earth; No, we did not untie the dock lines and start our cruising adventure; and No, we were not abducted by aliens.  We have simply been internet-less as wifi here on the water is intermittent.  Days have been spent getting the sails back on the boat, checking the bilges, getting our storage unit sorted out, tuning the rig, checking the bilges some more, reading, doing canvas work, getting our boat registered, and lately, trying to stay warm cuddled up in bed, and watching movies from our hard drive (Thanks Matt and Jess!).  

We have gotten many emails from people wondering what our next step is, and to clarify with you out there, we are not setting sail just yet.  We are not quite ready to do that; financially, we are working on rebuilding the kitty; mentally, we are readjusting to life on the water. Everyday, I pinch myself and wonder if I'm going to wake up on the hard.  Wondering if our boat splashing was all just a dream.  When I open the hatch every morning, I half expect to see rocks 12 feet beneath me.  I can finally pee in my own toilet and our boat isn't covered in bottom paint (now just bird poop).  When the boat moves and rocks, I have to tell myself to not run around screaming maniacally that we are falling off the stands.  I still keep a mental tab when I wash dishes of how much water I've used so as to not overflow our bucket.  I still eye empty drink bottles like treasure and am reluctant to toss them lest I have to pee in the middle of the night.  Have I become some weird version of a boat-dweller that no longer knows how to adhere to social norms?  Yes, but that is irrelevant. The past year and a half has traumatized me a little.  I know the painful memories of being on the hard will slowly fade away, just like the pain of childbirth is eventually forgotten by the mother.  The mind erases these memories so that you will brave doing it over and over again.  A true testament to the resilience of the human animal, I guess. I know that this is not the end of our boat projects, I have come to terms with that, but I also know that this is the beginning of another chapter in our lives.   With 2 years of Moitessier kicking our asses and forcing us to toughen our skin, I know we are now a little (I repeat, a little) better equipped for whatever lies ahead.


Friday, December 27, 2013

Sailors Exchange….Vows.

Hands down the most amazing thing about living on a boat and being a part of the sailing community are the interesting people that you meet.  Our friends, Jim and Denise, decided to get married the other day.  Our formal invitation consisted of Jim shouting to us through the marina’s bathroom door while we were showering, and asking us what we had in store for the next day.  When we said nothing, he told us to go to Sailors' Exchange, where he works, at 2pm the next day for him and Denise’s wedding.  Imagine our surprise when he said this. The celebration was an informal one to say the least, but the love in the air was certainly palpable. With the vows exchanged right in the middle of the store, and the part of the marriage officiant played by Clay (current owner of Sailors Exchange), we toasted to Jim and Denise’s life together as husband and wife.  Congratulations to you both!

Friday, December 20, 2013

Splish Splash

I’m proud to say that Moitessier is back in the water.  We got her back in a couple days ago, and I must say, I never thought this day would actually come.  The day of the splashing was unnerving.  We had spent the day before prepping all that we could to ensure everything would go smoothly.  We prepared by vacuuming the bilges, checking that the thru-hulls that needed to be open were open, and closing the ones that didn’t.  We did a thorough off the hard cleaning as well, as Moitessier was filthy from all the yard work that had been going on around us.  We got ready our dock lines, our fenders, and made sure that we had a boat hook handy if we needed it.  In the end, everything went off with out a hitch.  We were both a bit surprised to see that the engine was working properly and that none of our thru-hulls leaked.  Actually we were REALLY surprised about that one.

I could tell that Frank was more anxious than I was, and I can surely understand why, as this day was the culmination of 1 year and 8 months worth of work that he has done.  I am very, very proud of him as everything that he has taken on he has learned along the way.  I have simply been his helper, the one who he’d vent to (yell at), as well as the primary financier.  This has had its own challenges of course, but nothing compared to what he has had to overcome.  Without his problem solving skills, we would’ve never been able to refit to the extent that we have.  It has been an arduous road, and often I wondered if we would ever make it to the end.  Not just make it back into the water, but make it as a couple, as 2 people coming together to live a shared dream.  This has been the most challenging thing that either one of us has taken on, and we have risked everything for it….our relationship, our savings, our mental well being.  We have both learned a lot about ourselves and each other, and the past 2 years of this refit has taught us more about one another than the 9 years we had been together prior.  We have learned our limitations, our shortcomings, our strengths, and our flaws.  As sad as it may be to grow up and to see that we are weak at times, the juxtaposition between that and what we have overcome has certainly  been most enriching.  From here, what will we do?  Where will we go?  Many people have asked us this, and to be honest, I have no idea…

In the slings...
Our empty concrete pad where we have lived for 1 yr and 8 months
Finally in the water!
Frank relaxing in our hammock after a stressful day
Our new view :)


Friday, December 13, 2013

And Bob's Your Uncle

We have been waiting for the past 2 weeks to finally splash the boat.  It's looking like we have another week to go before a slip is going to open up.  Hurry up and wait!  We have decided to stay at the docks at this marina for a little while longer once we get back in simply because of the price for living aboard here.  We still have a list of projects to do once we are in, but it's looking like we are finished with our "on-the-hard projects".  Hallelujah!   Here's a quick run down of things that have kept us busy for the past few years.  I think I may have missed some, but you get the point:

Installed new 3 burner Dickenson stove
Installed new propane line from locker to stove
Installed new propane solenoid and Fireboy propane detector in galley
Built new teak propane locker
Installed new propane regulator and 10lb aluminum tank
Installed red light in refrigerator
Repaired and rewired refrigerator
Installed dividers in silverware draws
Replaced 110 outlet in galley with new GFI outlet
Removed old microwave and installed new
Removed old steering quadrant
Cut out rudder bearing
Installed new SS rudder bearing on custom bearing plate
Installed new rudder stuffing box
Install new Edson radial-drive and steering cables
Re-welded throttle and shifter lever cams
Installed new Morse cables for throttle and shift
Built new rudder stops
Built new battery box
Stripped and re-glassed cabin top teak pads
Installed new teak panels on cabin top (7)
Re-caulked cockpit teak
Removed delaminated glass on side decks
Re-glassed side decks with 1508 biaxial cloth in West Systems epoxy
Fabricated risers for deck fills (6)
Faired side decks and bulwarks
Primed and applied Awlgrip to side decks and bulwarks
Marked out and applied kiwi-grip non-skid
Re-bedded all stanchions
Re-welded 2 stanchions
Welded new stanchion braces for bimmini
Fabricated stainless steel mounting bracket for windless
Built new bowsprit using mahogany and treated all holes with wood preservative
Removed wind vane self steering gear, serviced, and reinstalled with new bronze bolts
Re-glassed self steering vane paddle
Made new mounting block for wind vane rudder
Installed new wind vane rudder with custom zinc
Installed new binnacle compass
Fabricated instrument pod for chart plotter
Made and installed cup holder
Made new cockpit table
Rebuilt cockpit winches
Fabricate new cockpit drains
Ran new wiring for running lights
Installed new port and starboard running lights
Replaced bow roller pin
Replaced Sampson post/bowsprit bolt
Marked and installed new spade anchor and 300 ft 3/8 chain
Replaced all bolts on bow pulpit
Repaired eye on bow pulpit for life line
Repainted anchor locker
Remove and reinstall windless foot controls
Re-bedded all port lights
Replaced port light seals
Removed butterfly hatch main beam and re-bedded
Fabricated new screens for hatches (5)
Removed all chain plates including whisker plates and cutwater and replaced with custom plates and custom bolts (12 plates) (42 bolts) re-bedded all
Cut open mast step and replaced coring with GRP plates (re-glassed over, faired, and painted with Awlgrip
Stripped and refinished external teak with Cetol + maintenance coats every 6 months
Removed and re-bedded granny bars
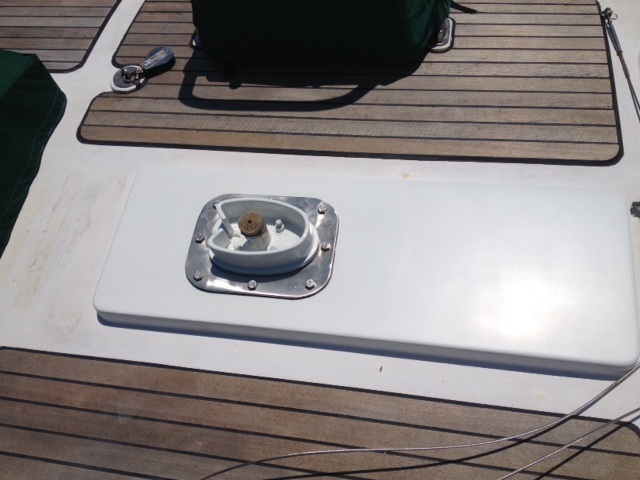
Repaired lazaret hatch faired and painted with Awlgrip
Installed SSB back stay antenna
Installed Furuno wind and depth displays
Replaced mast step bolts with new custom bolts
Re-welded and repaired mast step plate
Stripped all hardware from mast, boom, and spreaders
Sanded all failing paint, alumaprepped, zinc chromate, primed and painted with Awlgrip top coat
Replaced vhf antenna with new
Replaced wind instruments with new
Replaces Windex with new
Replaced tricolor with new aqua signal led
Replaced spreader lights with new Dr LED
Installed new steaming light
Replaced radar reflector with new
Ran all new wire through mast as well as vhf coax
Reinstalled radar
Reinstalled all mast and boom headwear
Rebuilt winches on mast and boom (5)
Added bus bars at base of compression post for mast wiring
Installed new boom bails’s and backing plates
Installed new Profurl on forestay
Repaired and reinstalled Profurl on staysail stay
Replaced all mast tangs with new including bolts
Replaced all standing rigging with new
Repaired outhaul
Replaced all shieve pins on mast and boom
Installed new custom bobstay
Uninstalled old depth and wind instruments
Repaired drip-less shaft seal and added new spare seals on shaft
Removed prop shaft and had straightened
Glass over old speed log through hull
Replaced through hulls (11)
Replaced cutlass bearings (2)
Removed old strut to have new one cast
Re-bedded new strut
Lapped and installed new Campbell Sailor prop
Sandblast prop, shaft, and strut
Applied 2 coats of Interlux 2000 to prop, shaft, and strut
Applied 3 coats Trinidad hard antifouling to prop, shaft, and strut
Installed new zincs on rudder skeg and prop shaft
Stripped bottom to bare fiberglass
Applied 4 coats of Interlux 2000 to bottom
Applied 3 coats international Interspeed 640 antifouling to bottom
Bonded all under water metals (sea cocks, sea strainers, strut)
Repainted boot-stripe black
Had hull compound polished and waxed
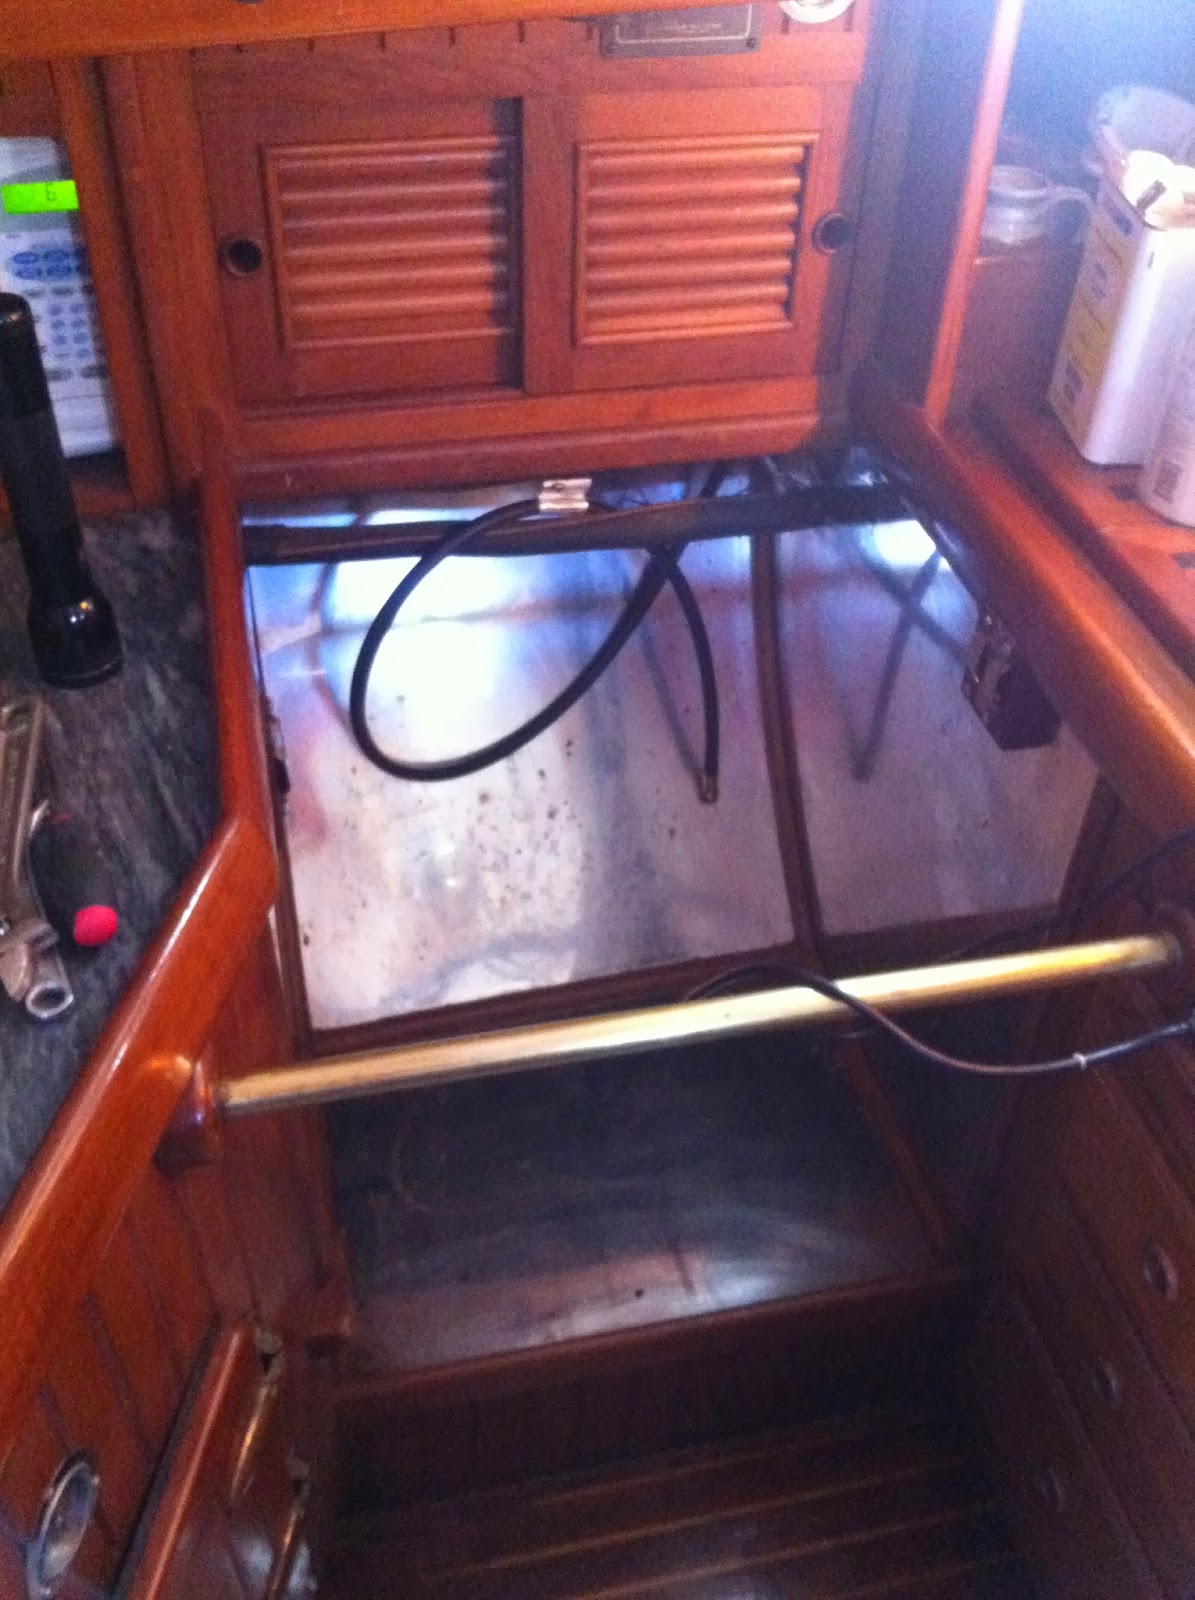
Fabricated engine access hatch in settee seat back
Adjusted valves on Nanni
Pressure tested Nanni
Removed old Nanni engine
Reorganized wiring in engine compartment
Degreased and painted bilge area under engine
Installed new custom water lift muffler
Installed new larger sea strainer
Replaced all fuel hose and fuel hose fittings on tanks
Installed new fuel selector manifold
Installed new Racore fuel filter with vacuum gauge
Installed speed seal for engine impeller
Installed sound proofing insulation in engine compartment
Installed coolant reservoir
Filled engine with oil, trains oil, and coolant
Bled all fuel lines as well as engine
Installed switch for Balmar external regulator
Installed engine instrument panel and wiring harness
Installed new exhaust hose
Installed new exhaust outlet
Wired engine
Had fuel tanks cleaned
Removed generator and sold
Clean up generator area and install new floor
Removed all cold freshwater plumbing and installed new PEX tubing
Added water selector manifold
Installed 2 manual foot pumps for fresh and salt water
Installed new water filter
Replaced fresh water pump
Installed new hot water heater hose from engine
Installed water monitor with remote display
Repaired water tank inspection port
Installed new automatic bilge pump with new hose and vented loop
Replaced hose on manual bilge pump and back up auto bilge pump
Removed repaired and reinstalled water tank under engine
Installed keel cooler for new refrigerator
Fabricated new sink drain
Sealed around both sinks with 5200
Installed new macerator pump and hose
Installed new shower sump pump, hose, vented loop, and custom teak cover for vented loop
Fabricated holding tank discharge elbow
Installed new shower faucet
Replaced valves on head faucet
Removed old head and head hoses
Installed Lavac head and all new head hoses, y valve, and vented loops
Replaced drain hose for head sink
Replaced freshwater fill hose
Replaced air conditioner water pump and sea-strainer
Cleaned water tanks
Cetoled shower seat
Repainted trim in galley and above chart table
Rebuilt instrument turtle above hatch
Installed socket holders in work room
Removed old engine instrument panel and built shelf in its place
Removed old diesel heater and fabricated new shelf and installed tell-tale compass
Installed new light above work table
Built new chart table seat and reinforced seat arm base
Installed new barometer
Installed new locking handles on floorboards (6)
Installed custom cut glass mirror in head
Installed curtains for Pullman birth
Installed lee-cloth on Pullman
Installed CO2 alarm
Installed various coat hangers, hooks, and shelf’s
Polished bronze and applied protective coating on all
Installed new air-conditioned control panel
Installed WIFI booster antenna with wireless bridge
Installed new stereo and 2 speakers
Installed new breaker panel
Installed new Vesper marine AIS
Installed backup Garmin chart plotter at Nav table with separate antenna 
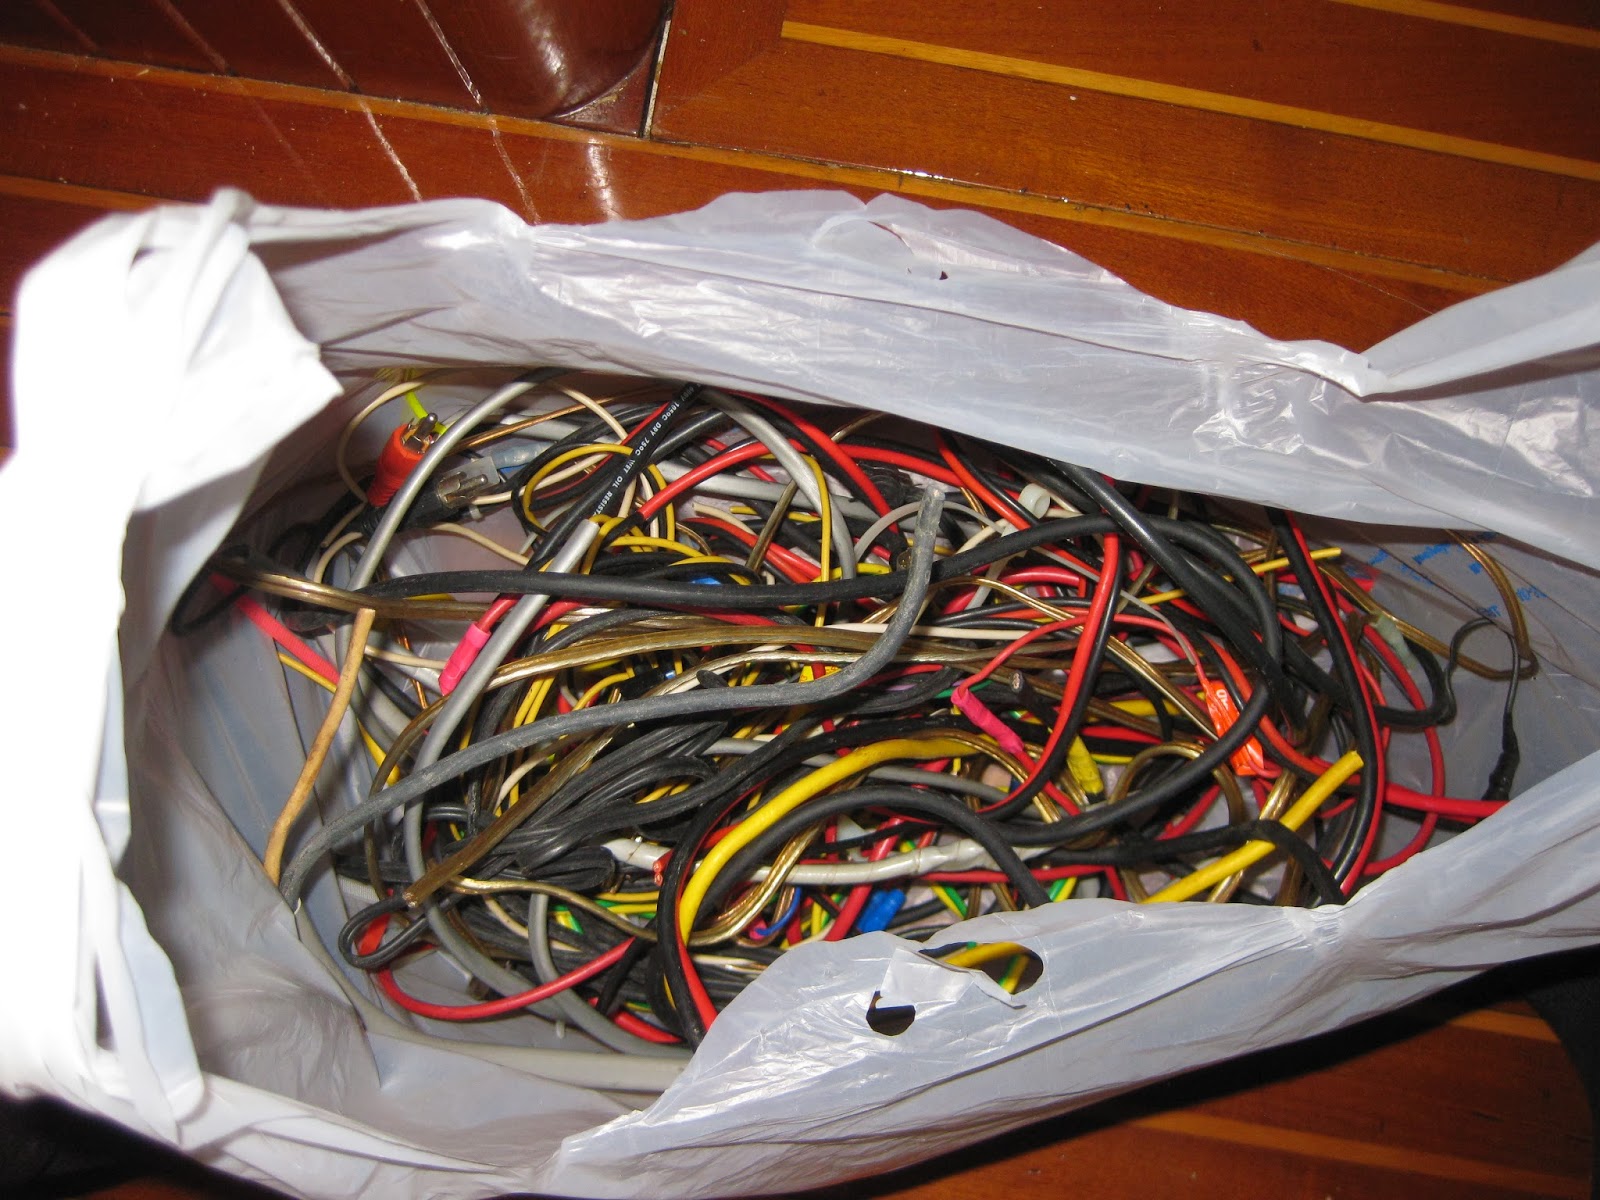
Removed and re-organized wires throughout boat
And Bob's your uncle….(in Frank's case, that really is the name of his uncle and grandfather!)

Here are some random before and afters we have laying around.  Forgive me if some of these are repeats from past posts:

We lived like this for months
We found this in our old exhaust.  It was used to
make up the difference between 2 different sized
exhaust hoses.
This came off our old stove while I was cooking
Clustf*$k!  We couldn't figure out where half this
stuff went to, so Frank just redid it. 
Heap of crap in bilges before it was redone and organized
Fitting for one of the old fuel lines.  Almost
completely clogged :(
After!
New plumbing
None of these wires went to anything!