We have been waiting for the past 2 weeks to finally splash the boat. It's looking like we have another week to go before a slip is going to open up. Hurry up and wait! We have decided to stay at the docks at this marina for a little while longer once we get back in simply because of the price for living aboard here. We still have a list of projects to do once we are in, but it's looking like we are finished with our "on-the-hard projects". Hallelujah! Here's a quick run down of things that have kept us busy for the past few years. I think I may have missed some, but you get the point:
Installed
new 3 burner Dickenson stove
Installed
new propane line from locker to stove
Installed
new propane solenoid and Fireboy propane detector in galley
Built new teak propane locker
Installed new propane regulator and 10lb aluminum tank
Installed
red light in refrigerator
Repaired
and rewired refrigerator
Installed
dividers in silverware draws
Replaced
110 outlet in galley with new GFI outlet
Removed
old microwave and installed new
Removed
old steering quadrant
Cut out
rudder bearing
Installed
new SS rudder bearing on custom bearing plate
Installed
new rudder stuffing box
Install
new Edson radial-drive and steering cables
Re-welded
throttle and shifter lever cams
Installed new Morse cables for throttle and shift
Built new
rudder stops
Built new
battery box
Stripped
and re-glassed cabin top teak pads
Installed
new teak panels on cabin top (7)
Re-caulked cockpit teak
Removed
delaminated glass on side decks
Re-glassed
side decks with 1508 biaxial cloth in West Systems epoxy
Fabricated
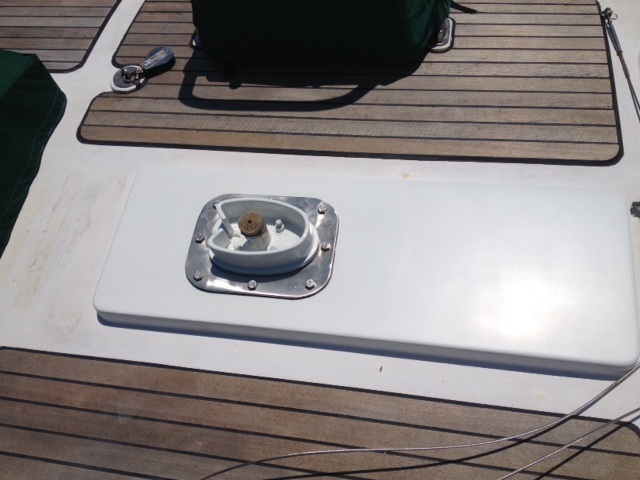
risers for deck fills (6)
Faired
side decks and bulwarks
Primed
and applied Awlgrip to side decks and bulwarks
Marked
out and applied kiwi-grip non-skid
Re-bedded
all stanchions
Re-welded
2 stanchions
Welded
new stanchion braces for bimmini
Fabricated
stainless steel mounting bracket for windless
Built new
bowsprit using mahogany and treated all holes with wood preservative
Removed
wind vane self steering gear, serviced, and reinstalled with new bronze bolts
Re-glassed
self steering vane paddle
Made new
mounting block for wind vane rudder
Installed
new wind vane rudder with custom zinc
Installed
new binnacle compass
Fabricated
instrument pod for chart plotter
Made and
installed cup holder
Made new
cockpit table
Rebuilt
cockpit winches
Fabricate
new cockpit drains
Ran new
wiring for running lights
Installed
new port and starboard running lights
Replaced
bow roller pin
Replaced
Sampson post/bowsprit bolt
Marked
and installed new spade anchor and 300 ft 3/8 chain
Replaced all bolts on bow pulpit
Repaired
eye on bow pulpit for life line
Repainted
anchor locker
Remove
and reinstall windless foot controls
Re-bedded
all port lights
Replaced
port light seals
Removed
butterfly hatch main beam and re-bedded
Fabricated
new screens for hatches (5)
Removed
all chain plates including whisker plates and cutwater and replaced with custom
plates and custom bolts (12 plates) (42 bolts) re-bedded all
Cut open
mast step and replaced coring with GRP plates (re-glassed over, faired, and
painted with Awlgrip
Stripped
and refinished external teak with Cetol + maintenance coats every 6 months
Removed
and re-bedded granny bars
Repaired
lazaret hatch faired and painted with Awlgrip
Installed SSB back stay antenna
Installed
Furuno wind and depth displays
Replaced
mast step bolts with new custom bolts
Re-welded
and repaired mast step plate
Stripped
all hardware from mast, boom, and spreaders
Sanded
all failing paint, alumaprepped, zinc chromate, primed and painted with Awlgrip
top coat
Replaced
vhf antenna with new
Replaced
wind instruments with new
Replaces
Windex with new
Replaced
tricolor with new aqua signal led
Replaced
spreader lights with new Dr LED
Installed
new steaming light
Replaced
radar reflector with new
Ran all
new wire through mast as well as vhf coax
Reinstalled
radar
Reinstalled
all mast and boom headwear
Rebuilt
winches on mast and boom (5)
Added bus
bars at base of compression post for mast wiring
Installed
new boom bails’s and backing plates
Installed
new Profurl on forestay
Repaired
and reinstalled Profurl on staysail stay
Replaced
all mast tangs with new including bolts
Replaced
all standing rigging with new
Repaired
outhaul
Replaced
all shieve pins on mast and boom
Installed
new custom bobstay
Uninstalled
old depth and wind instruments
Repaired
drip-less shaft seal and added new spare seals on shaft
Removed
prop shaft and had straightened
Glass
over old speed log through hull
Replaced
through hulls (11)
Replaced
cutlass bearings (2)
Removed
old strut to have new one cast
Re-bedded new strut
Lapped and
installed new Campbell Sailor prop
Sandblast
prop, shaft, and strut
Applied 2
coats of Interlux 2000 to prop, shaft, and strut
Applied 3
coats Trinidad hard antifouling to prop, shaft, and strut
Installed
new zincs on rudder skeg and prop shaft
Stripped
bottom to bare fiberglass
Applied 4
coats of Interlux 2000 to bottom
Applied 3
coats international Interspeed 640 antifouling to bottom
Bonded
all under water metals (sea cocks, sea strainers, strut)
Repainted boot-stripe black
Had hull
compound polished and waxed
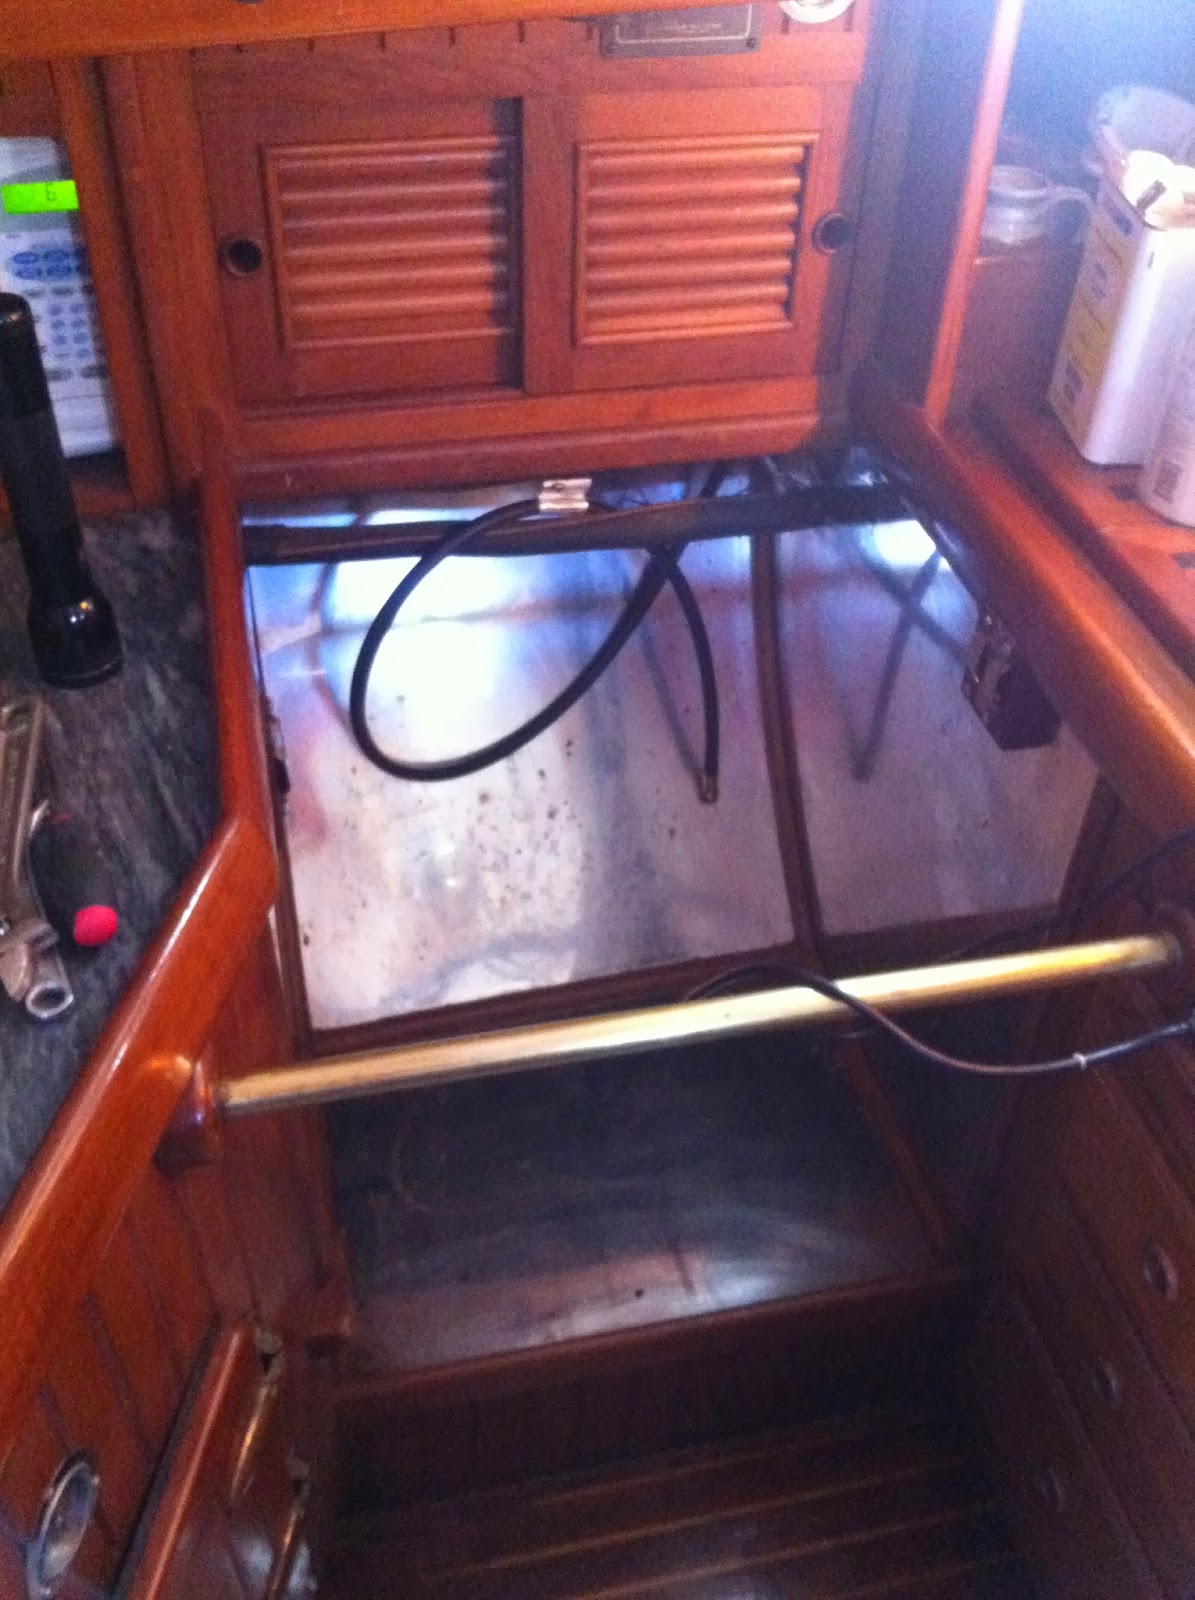
Fabricated
engine access hatch in settee seat back
Adjusted
valves on Nanni
Pressure
tested Nanni
Removed
old Nanni engine
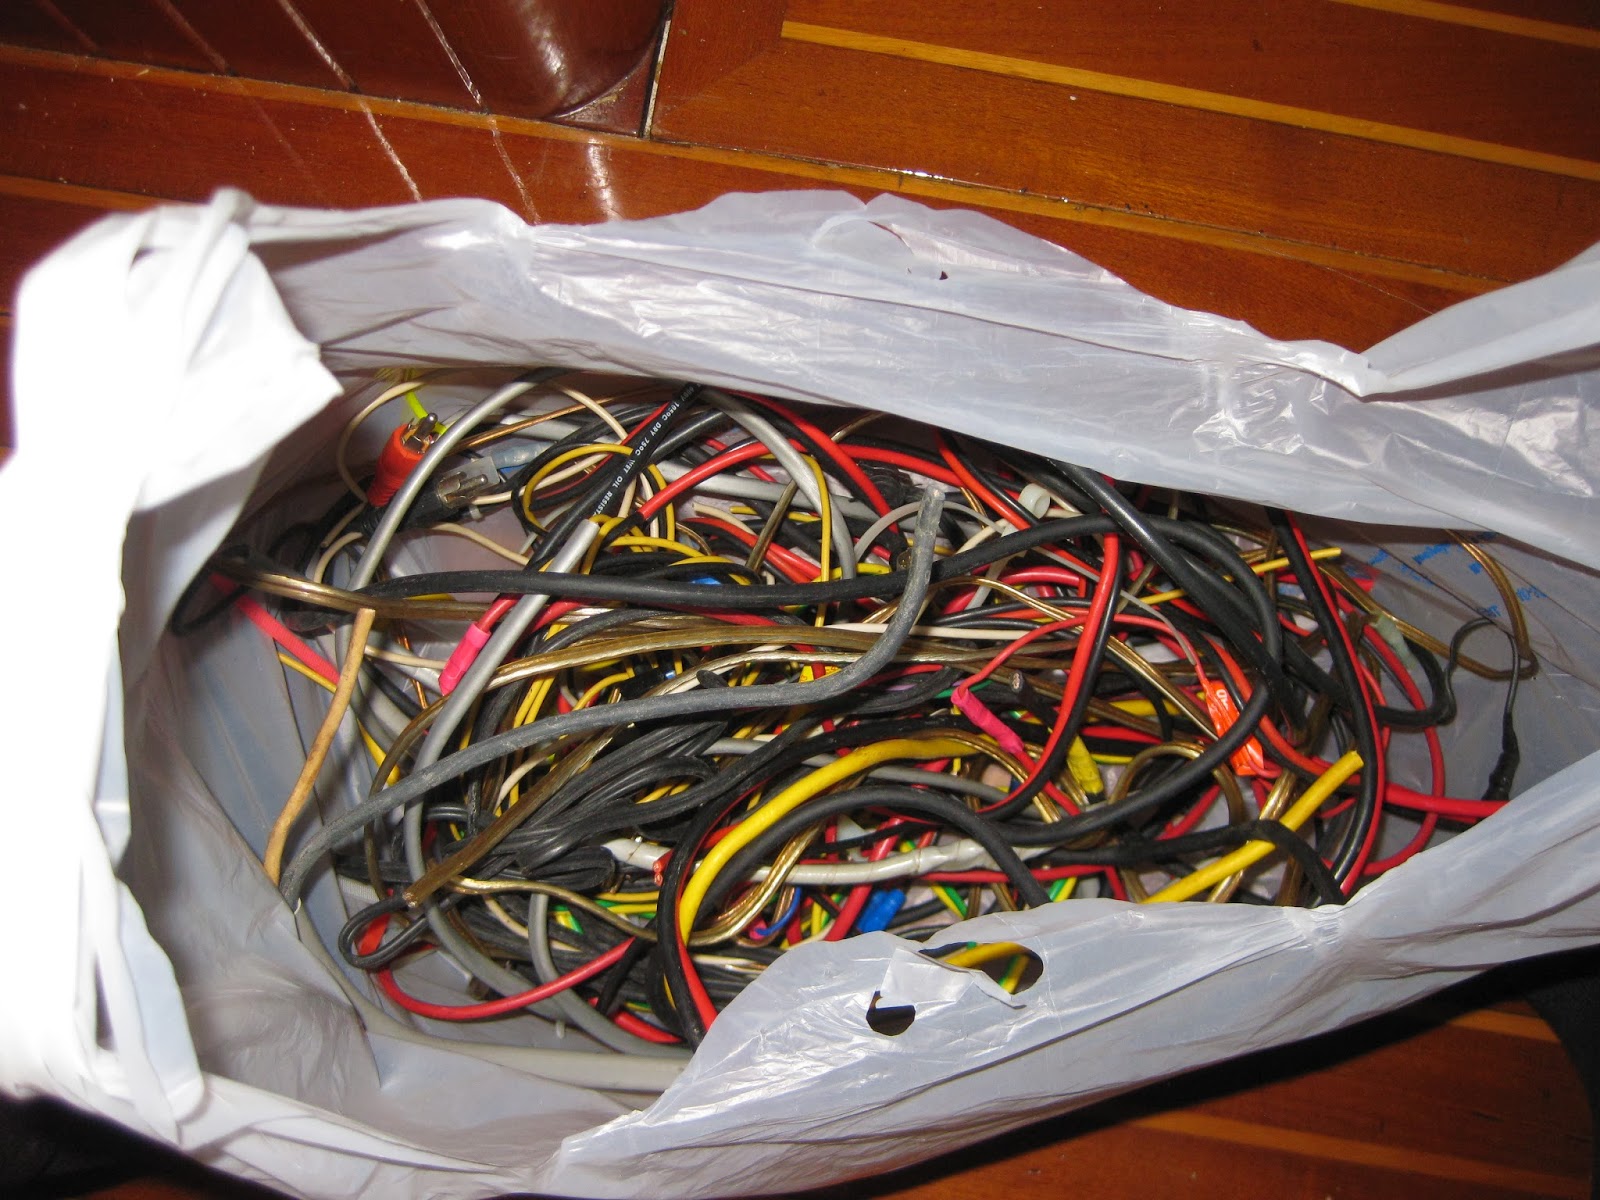
Reorganized
wiring in engine compartment
Degreased
and painted bilge area under engine
Installed
new custom water lift muffler
Installed
new larger sea strainer
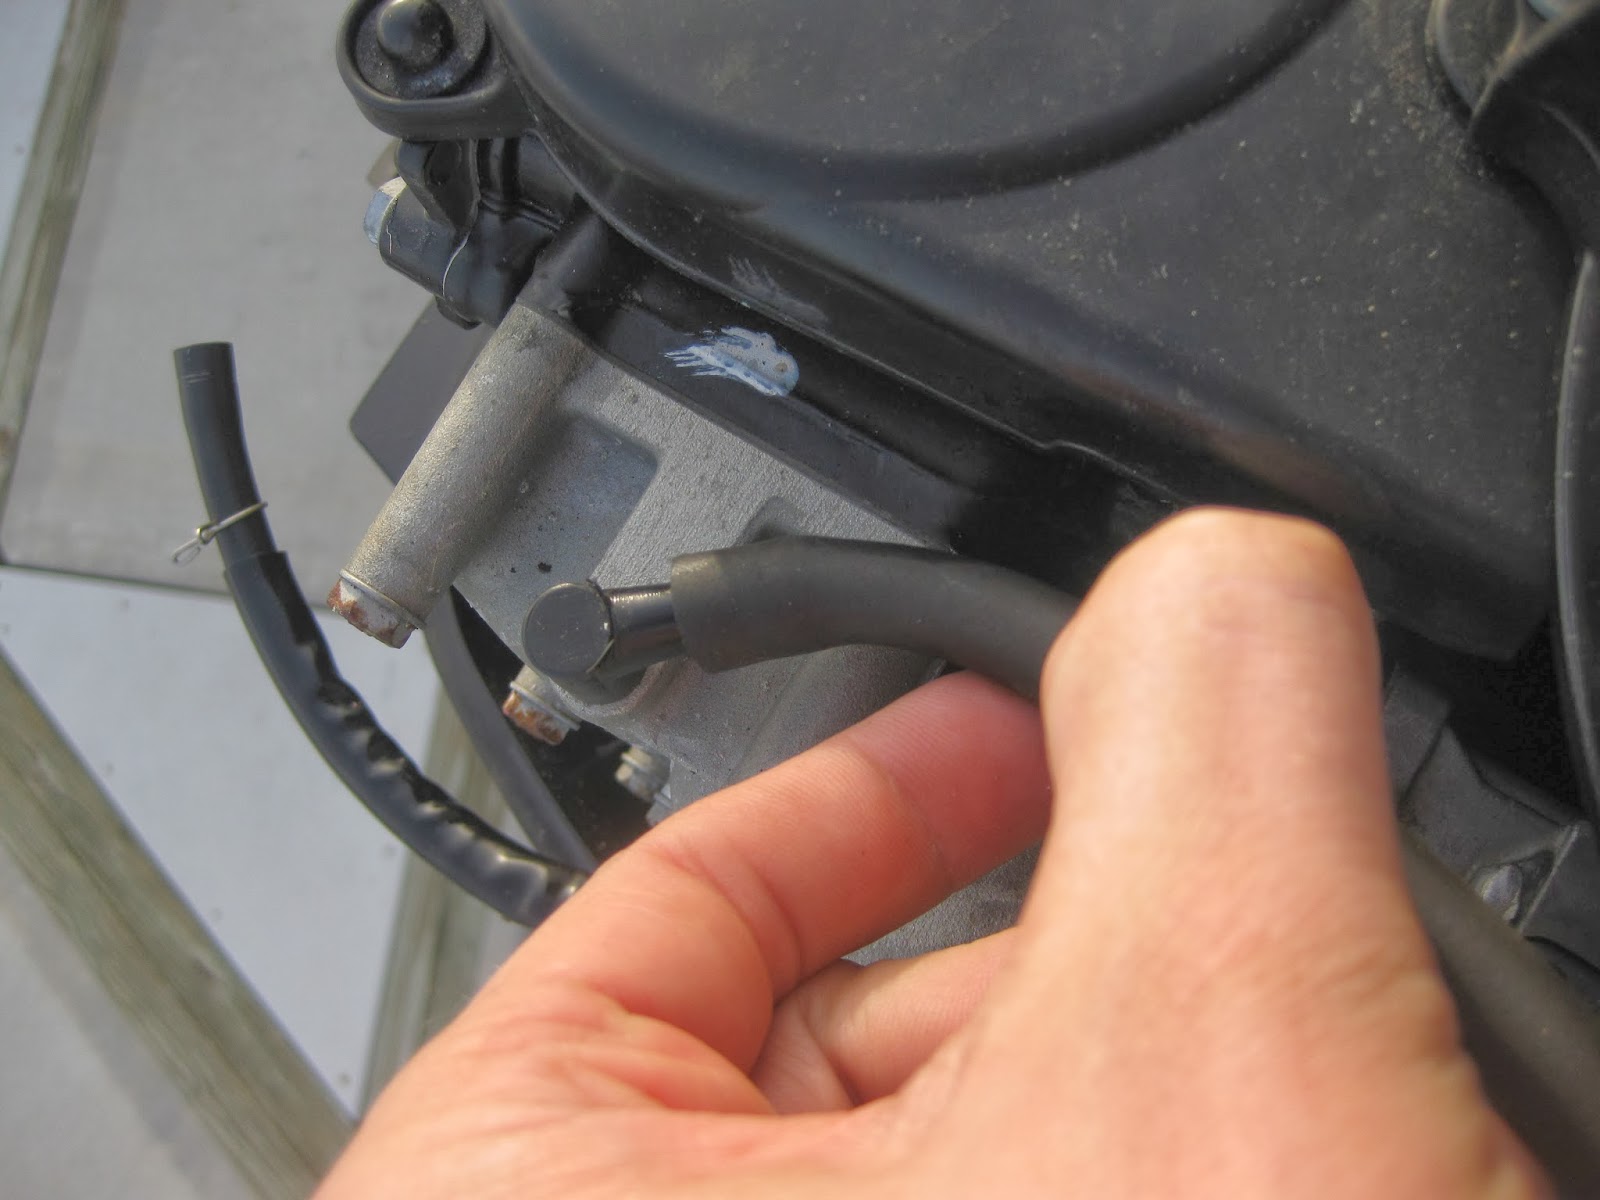
Replaced all fuel hose and fuel hose fittings on tanks
Installed
new fuel selector manifold
Installed
new Racore fuel filter with vacuum gauge
Installed
speed seal for engine impeller
Installed
sound proofing insulation in engine compartment
Installed
coolant reservoir
Filled
engine with oil, trains oil, and coolant
Bled all
fuel lines as well as engine
Installed
switch for Balmar external regulator
Installed engine instrument panel and wiring harness
Installed new exhaust hose
Installed new exhaust outlet
Wired
engine
Had fuel
tanks cleaned
Removed
generator and sold
Clean up
generator area and install new floor
Removed
all cold freshwater plumbing and installed new PEX tubing
Added
water selector manifold
Installed
2 manual foot pumps for fresh and salt water
Installed
new water filter
Replaced
fresh water pump
Installed
new hot water heater hose from engine
Installed
water monitor with remote display
Repaired
water tank inspection port
Installed
new automatic bilge pump with new hose and vented loop
Replaced
hose on manual bilge pump and back up auto bilge pump
Removed
repaired and reinstalled water tank under engine
Installed
keel cooler for new refrigerator
Fabricated
new sink drain
Sealed
around both sinks with 5200
Installed new macerator pump and hose
Installed new shower sump pump, hose, vented loop, and custom teak cover for vented loop
Fabricated holding tank discharge elbow
Installed new shower faucet
Replaced valves on head faucet
Removed old head and head hoses
Installed Lavac head and all new head hoses, y valve, and vented loops
Replaced drain hose for head sink
Replaced
freshwater fill hose
Replaced
air conditioner water pump and sea-strainer
Cleaned
water tanks
Cetoled
shower seat
Repainted
trim in galley and above chart table
Rebuilt
instrument turtle above hatch
Installed
socket holders in work room
Removed
old engine instrument panel and built shelf in its place
Removed
old diesel heater and fabricated new shelf and installed tell-tale compass
Installed
new light above work table
Built new
chart table seat and reinforced seat arm base
Installed
new barometer
Installed
new locking handles on floorboards (6)
Installed custom cut glass mirror in head
Installed curtains for Pullman birth
Installed lee-cloth on Pullman
Installed CO2 alarm
Installed
various coat hangers, hooks, and shelf’s
Polished bronze and applied protective coating on all
Installed
new air-conditioned control panel
Installed
WIFI booster antenna with wireless bridge
Installed
new stereo and 2 speakers
Installed
new breaker panel
Installed new Vesper marine AIS
Installed backup Garmin chart plotter at Nav table with separate antenna